Be sure to come back tomorrow and Thursday for the rest of the challenge. Parts 2 and 3 will be added to this post.
The final Challenge is due on Monday, June 1.
The Prize Winner will be announced Tuesday, June 2 when the next TM Challenge is posted.
The Challenge: Create a background filled with word boxes.
Supplies Needed: White Cardstock, Black Pen, Pictures, a coloring medium of your choice (paint, crayons, colored pencils, ink)
Optional Supplies: Alphabet Stickers, Die-cut Words, Phrase Stickers/ Die-cuts, Photo Mats
Part 1
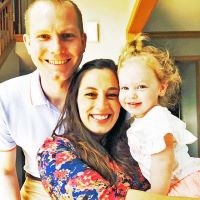
1. Decide what pictures you are going to use. This is important so make sure you figure this out first. You can choose any number you like and print them in either black and white or color.
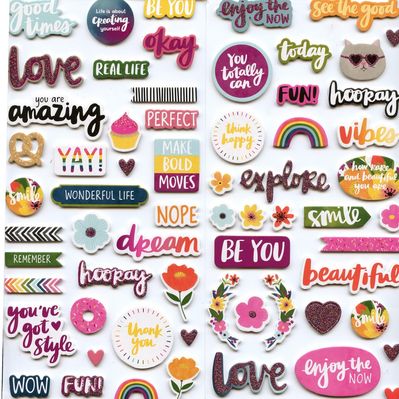
2. Make a list of words or phrases that are inspired by the pictures ie. Love that Smile, Look at Me!, Love You Forever, Smile!, Fun Times, etc.
3. Draw word boxes on the cardstock with the black pen....make sure that is is a pen that will not bleed when wet. You get to determine the size and amounts of the boxes but the entire page must be filled with empty boxes. Please note that you will be filling them with the words/phrases from your list as part of the challenge.....but not yet! Your boxes can be drawn freehand, doodled around, made to look like stitching, or drawn with a ruler and straight edge. Be creative!

That's it for today.
The Prize to be won---
Part 2
1. Now that you have all of your boxes drawn, decide where your pictures will be placed but do not adhere them yet. If you want to make sure you remember where they go, lightly draw around them with a pencil and then lay the pictures aside.
2. Think about what your title is going to be and if there is a journaling box. Figure out where they will be placed on the LO.
3. Using your coloring medium randomly color some of the boxes. How you color is up to you and you do not have to stay within the lines. You will want to keep your coloring somewhat translucent in order to see the lines of your box.
4. Depending on your coloring medium, let your LO dry if needed. If you used watercolors or another liquid and are having curling problems, iron the backside of your cardstock to flatten it.
That's it for today. See you tomorrow for the finishing touches!
Part 3
1. You should now have a sheet of cardstock with random boxes colored in.
2. Now it's time to fill in the boxes with words/phrases using either stickers, die-cuts, or handwriting.
3. After the boxes are filled to your liking, adhere your pictures (add mats if you like), title, journaling box if you have one.
4. Feel free to add any extra embellishments.
5. Upload your LO to the gallery and here in order to be in the drawing for the prize.
Congratulations on finishing your TM Challenge!